Creating a Frosty Scene: Mixing Multiple Techniques in One Project
by Michelle Short November 6, 2026

Key Takeaways
Condition Stamps for Solid Coverage: Rub a dedicated stamp conditioning eraser over photopolymer stamps to stop dye ink from beading up.
Target Single Alignment Anchors: Line up multi-layer stamps by matching a single distinct feature—such as the flower center—rather than trying to eye the entire branch at once.
Anchor Die Cuts Before Stamping: Use a loose die-cut piece (like the bird) as an unglued placement guide to ensure background stamping frames your focal point accurately.
Build Winter Depth with Mixed Media: A gentle flick of diluted titanium white gouache creates realistic falling snow, while iridescent glitter paste adds dimensional frost along branch tops.
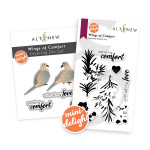
Hello there, Michelle here with another edition of Terrific Tags with Michelle. Today I have a frosty scene tag to share using multiple techniques with the Mini Delight: Wings of Comfort Stamp & Layering Die Set.
The techniques I am using today are:
- Stamp layering
- Die cut layering
- Ink blending - on both the background and die cuts
- Mixed media techniques - using glitter paste and gouache

Technique 1 - Stamp Layering
My first technique uses stamp layering with the Mini Delight: Wings of Comfort Layering Stamp Set.
To be honest, this is a technique that I often struggle with. I love the look but I am quite particular, and if the stamps don't line up perfectly, I am not going to like my project! So I have some tips to share with you that makes the proccess easier for me.
I started off by stamping the base layer of the rosemary sprig onto my tag (cut from Classic Crest 110lb Solar White Cardstock using the Terrific Tags Die Set) using Aqualicious Fresh Dye Ink.
I did die cut the bird from Mini Delight: Wings of Comfort Layering Die Set from Classic Crest 110lb Solar White for the top two layers, and Crafty Necessities: Jet Black Cardstock for the bottom layer, so that I could use the middle layer as a guide for where to stamp the branches on the tag.

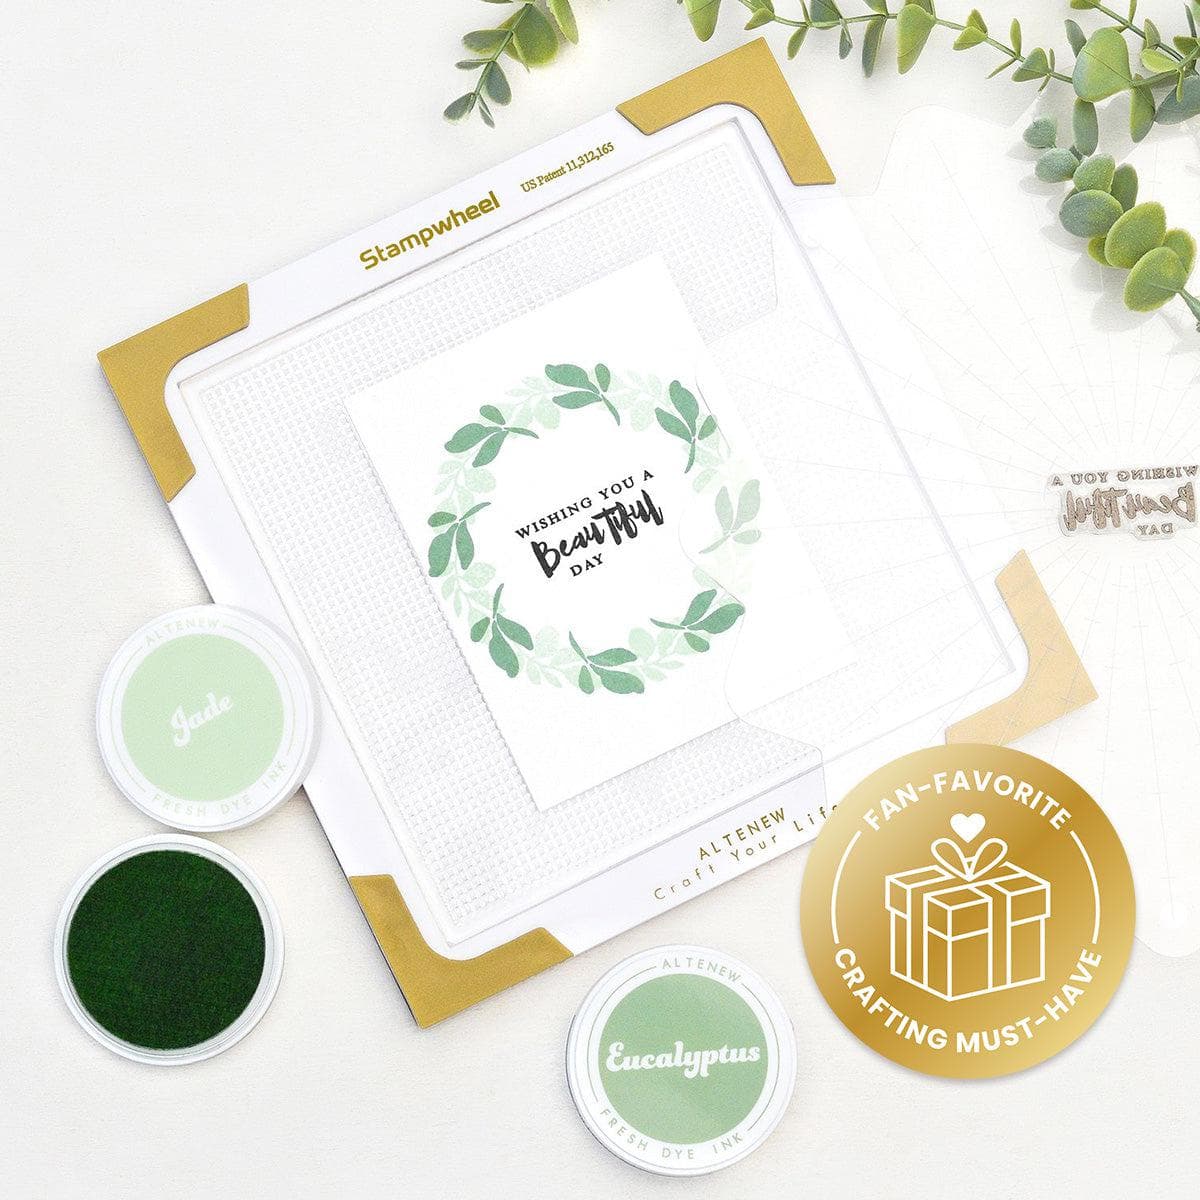
To make sure that I got a good impression with the stamping, I conditioned the stamp using the Stamp Conditioning Eraser. This creates a surface so that the ink will apply nicely to (and not bead up) so that you will get a good stamped impression.
I stamped the branch once, for the bird to sit on, and then again further up to build out the scene.
I then took the second layer of the branch and found a part of the branch that would line up with the first layer. This was the flower centre. Once I lined up the flower centre on the second layer with the already stamped first layer, the rest of the branch lined up. This layer was stamped using Teal Cave Fresh Dye Ink.
Before continuing with the stamping, I wanted to add the next technique to the project - ink blending to the background.

Technique 2 - Ink Blending
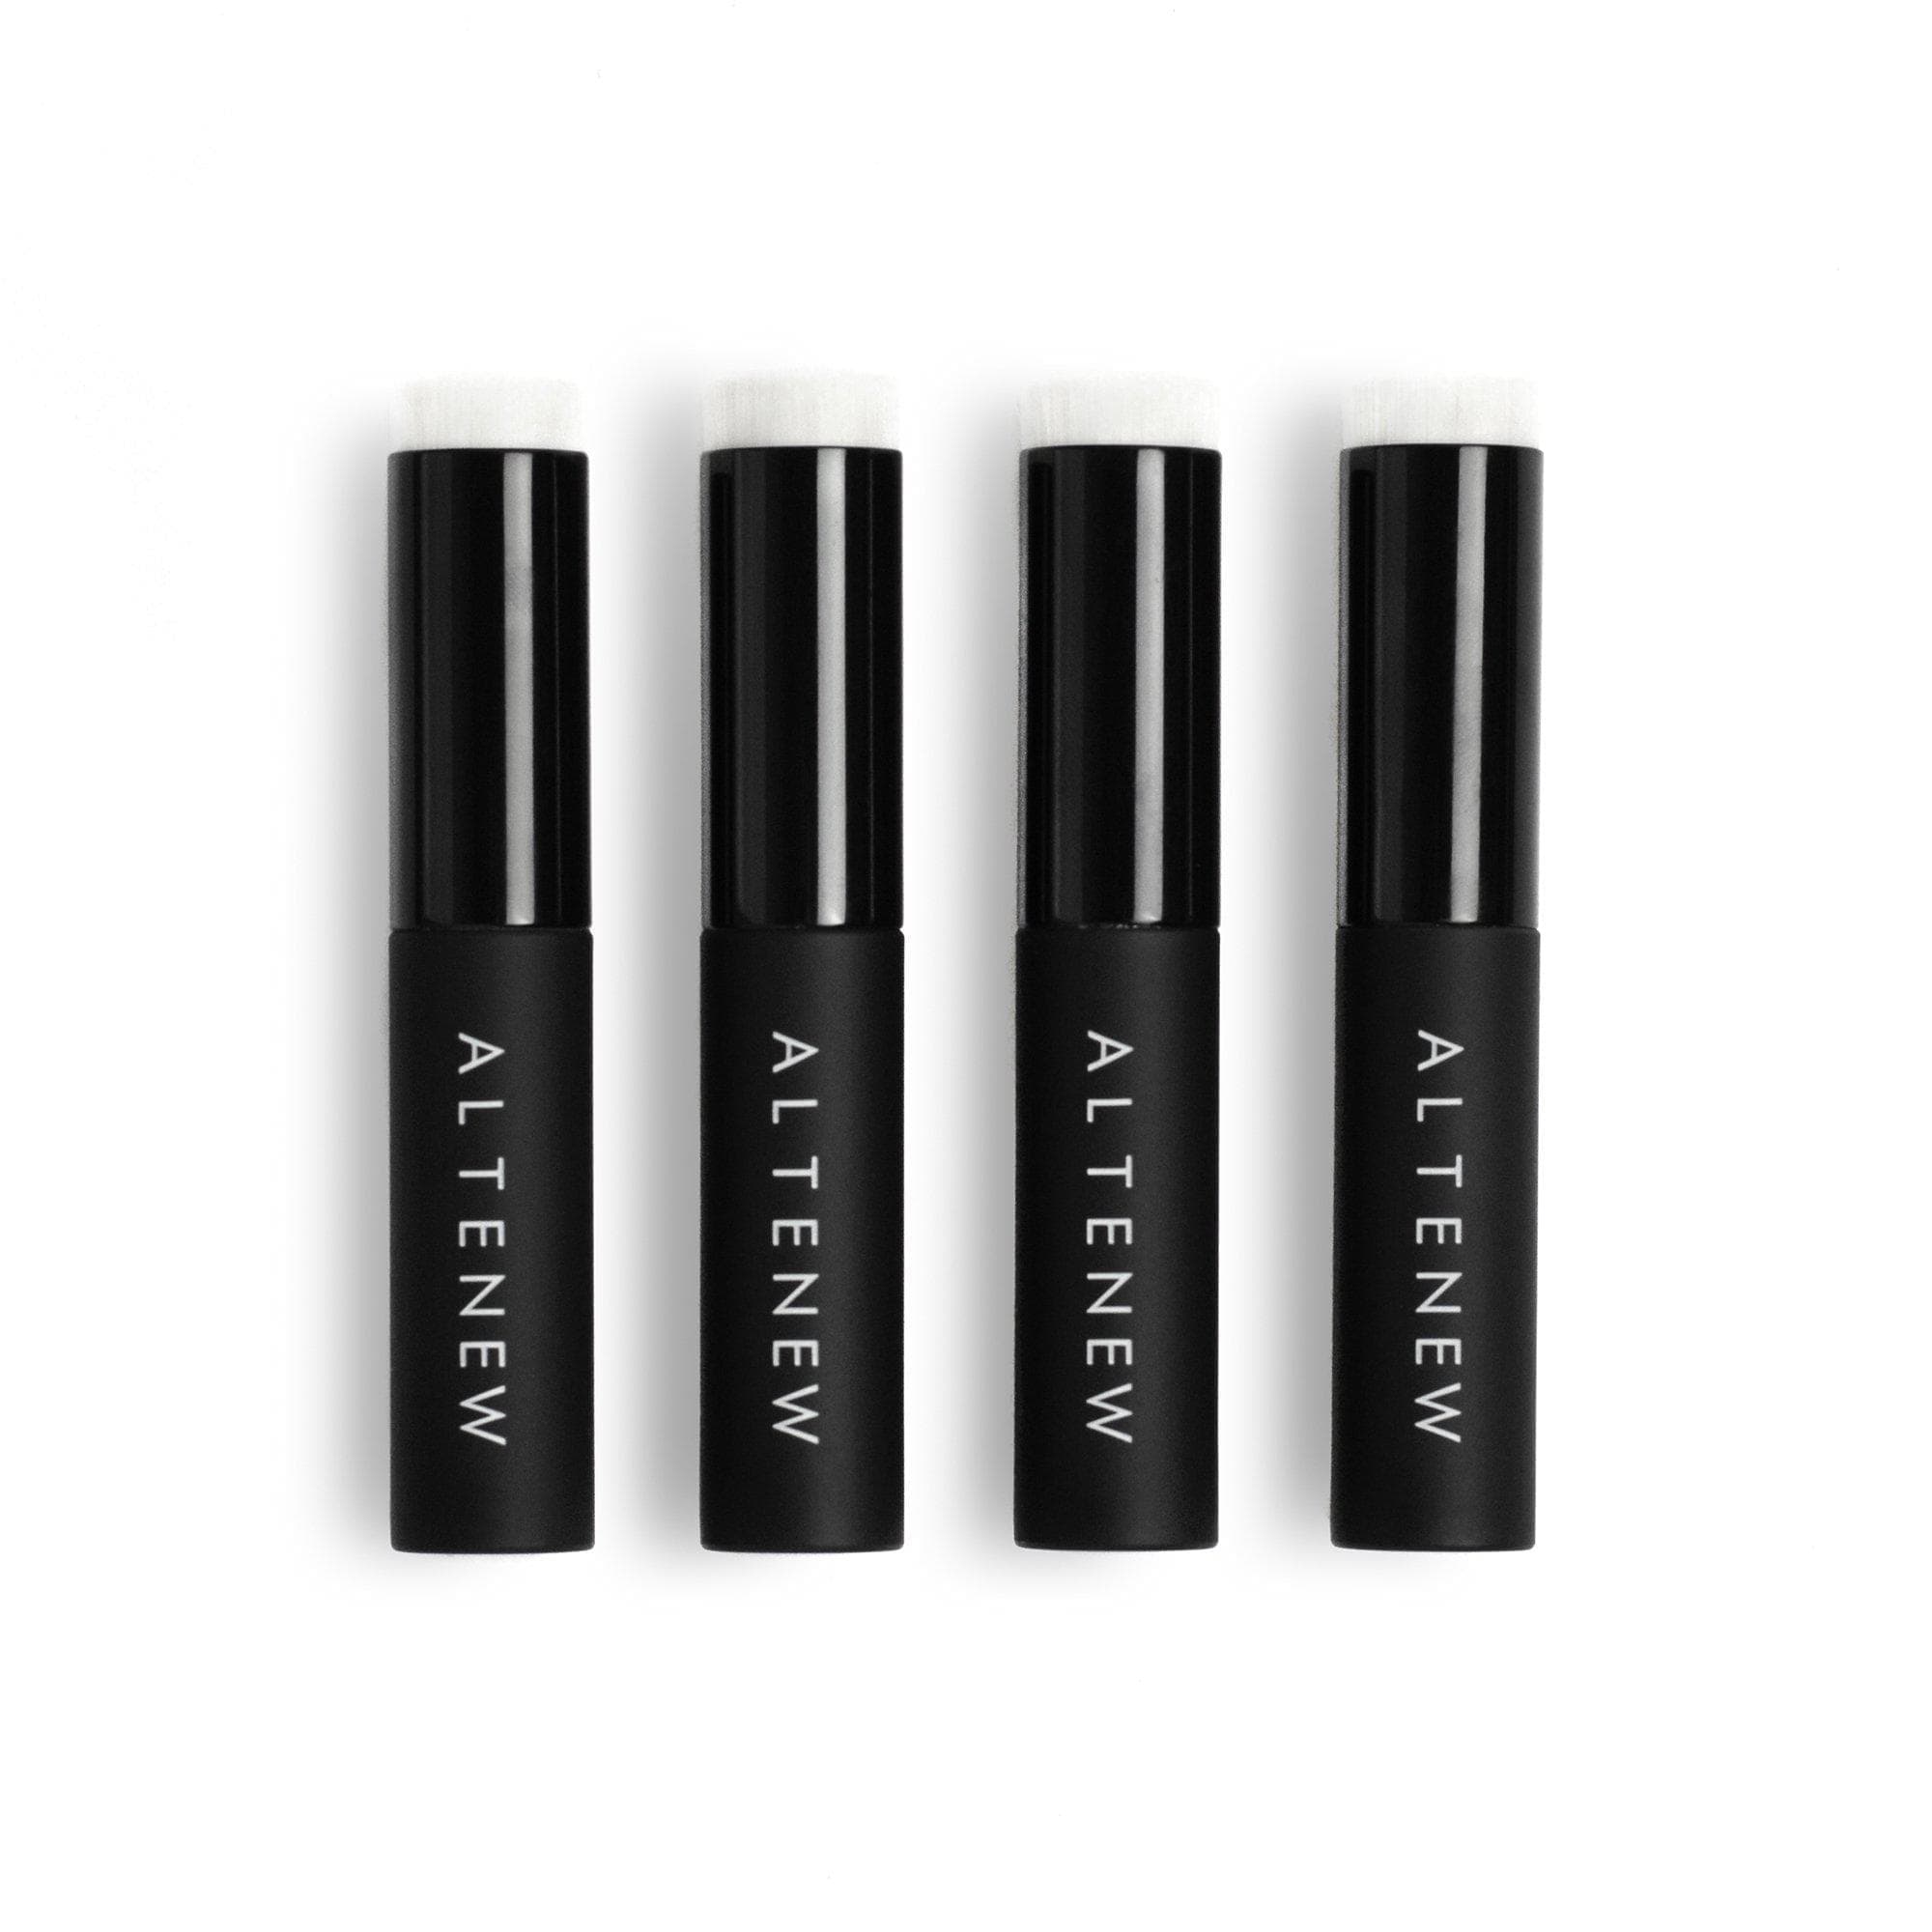
I wanted the branches to look like part of a scene, so I added ink blending to the background using Dew Drops Fresh Dye Ink and a Mini Blending Brush. I focused the ink around the branches and the left side of the tag.
This makes it look like there is either a sky in the background, or that there are other branches in the scene that are blurred out.
I also used the technique of ink blending for the top two layers of the bird using the following inks:
You can add add ink blending to the base layer, but I thought it was easier to cut it from black cardstock instead!

I continued with the stamp layering technique by stamping the flowers next. I used Wisteria Fresh Dye Ink for the first layer (again lining up the flower centre with the branch layer). For the top layer, I used Hydrangea Fresh Dye Ink and used the edge of the petal to line this layer up - watch the video below to see how I did it!
I also stamped the sentiment from Linear Life: Poinsettias onto white cardstock using Obsidian Pigment Ink. It was die cut out using the coordinating die.
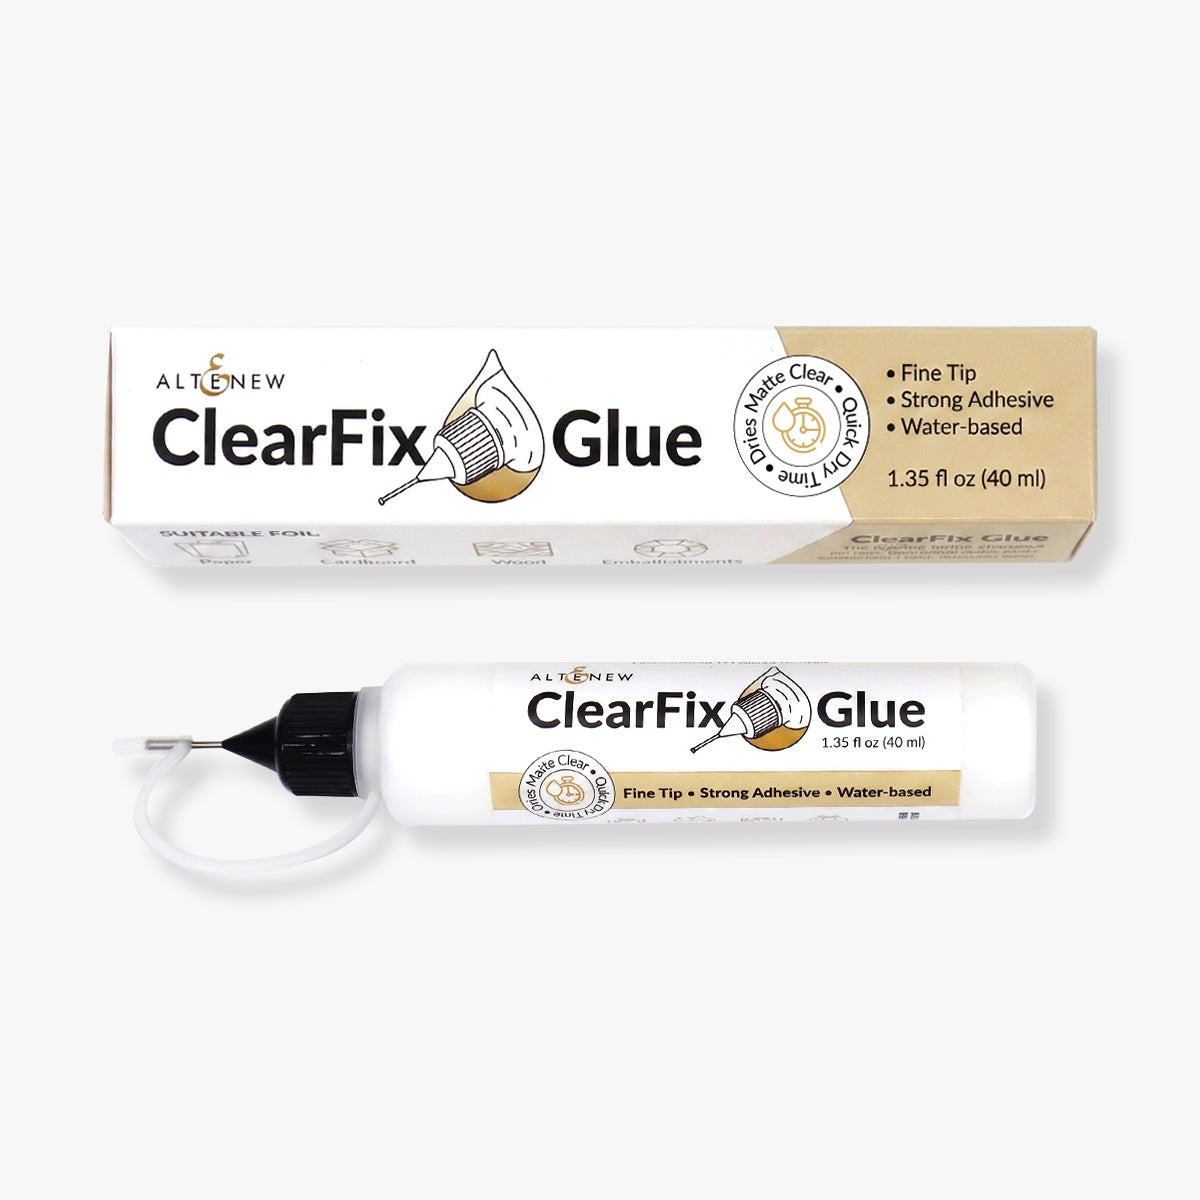
The bird was assembled using the keyhole system and the layers adhered together using ClearFix Glue.
Technique 3 - Mixed Media
My last technique for the project is mixed media techniques. Whilst mixed media tends to be seen as as a style, it really is just the process of mixing multiple mediums together. In this case, I am using inks, gouache and glitter paste.
I wanted to add some frostyness to the scene, so I started off by mixing a little Titanium White Artists' Gouache with water and splattered it onto the scene to represent snow.

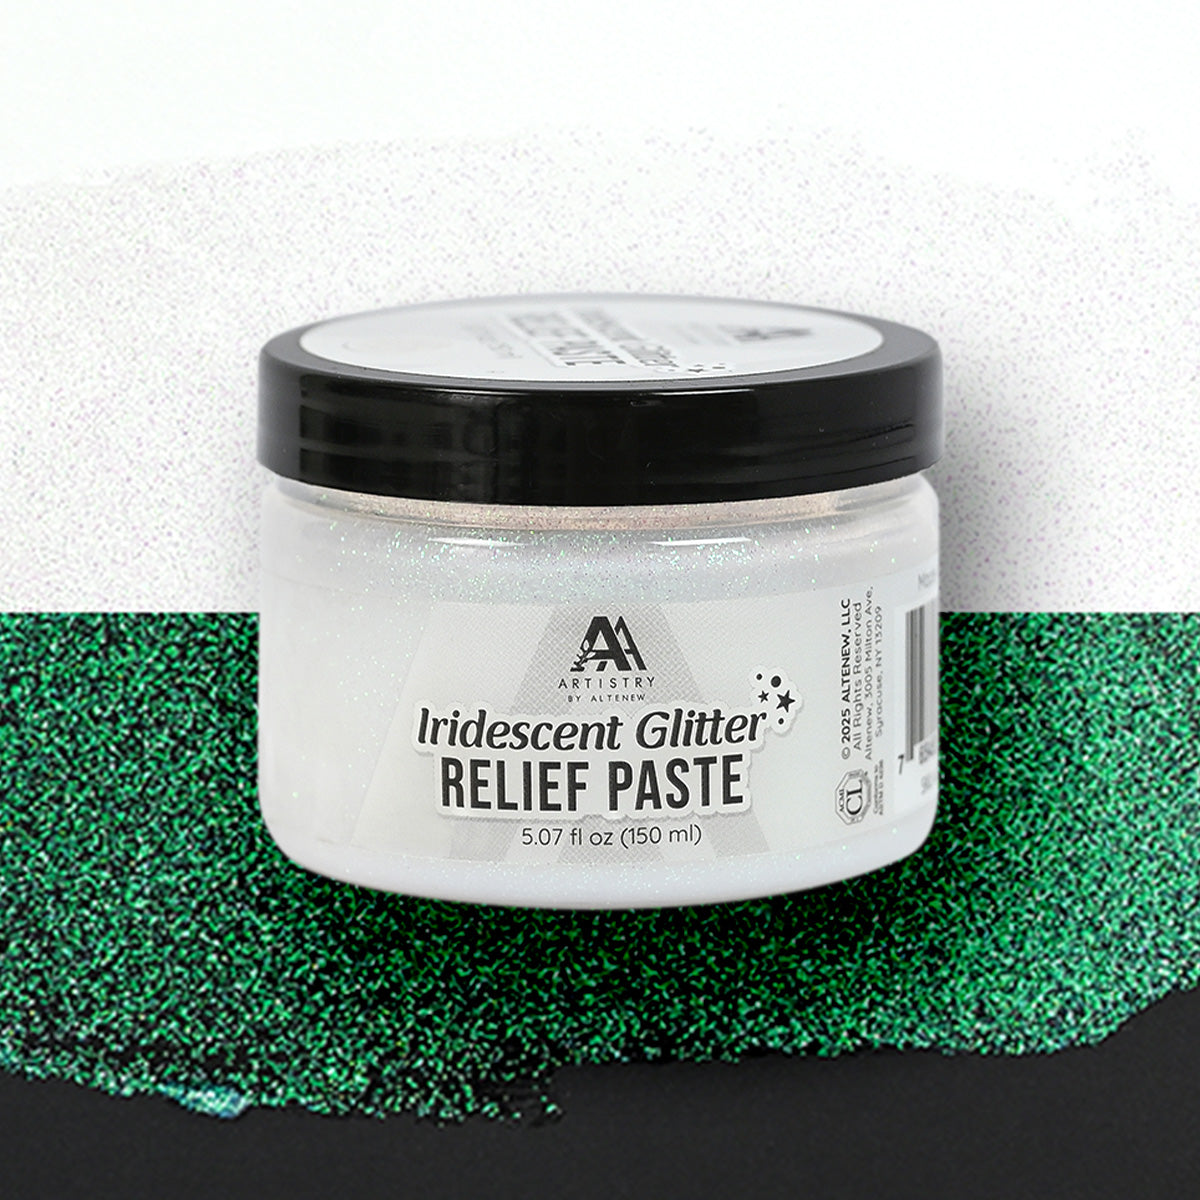
To add to even more frostyness, I added Iridescent Glitter Relief Paste using a brush (although the paste cleans easily, make sure to use an old brush here!). I applied the paste onto the branches and a little on the flowers. I tried to make some areas thicker and some thinner for added interest.
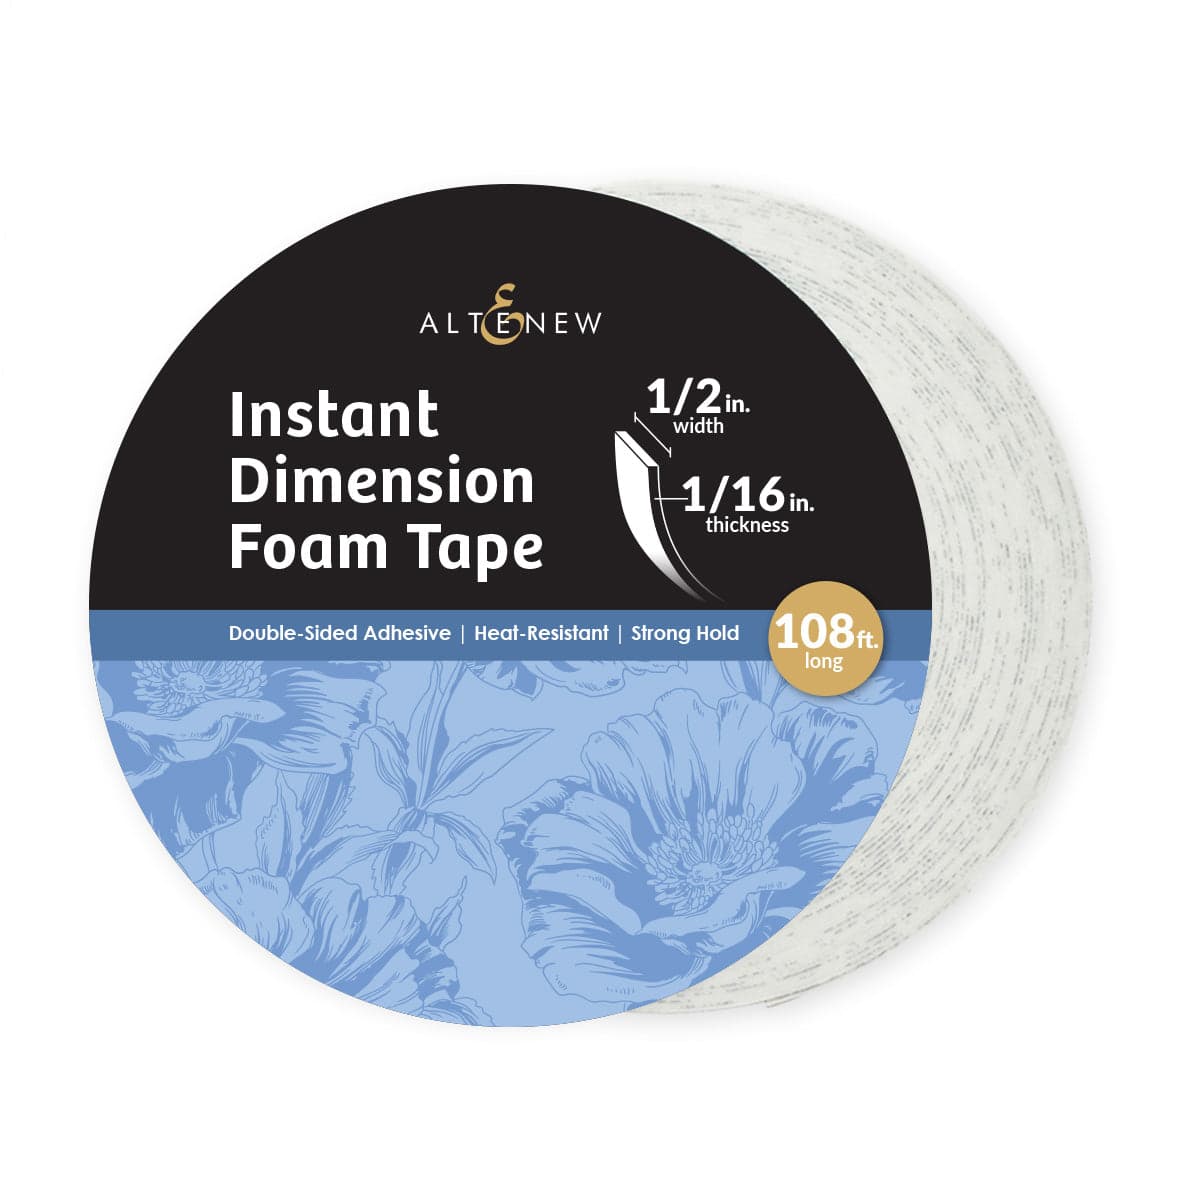
The bird was adhered to the tag using Instant Dimension Foam Tape and the sentiment with ClearFix Glue.
I added twine through the top of the tag and tied in a bow and then to finish, I embellished with Clear iridescent Stellar Sequins.
Video Tutorial: Creating a Multiple Technique Frosty Scene
I hope I have inspired you to try mixing multiple techniques in one project. I love how the glitter paste and gouache give the frosty look to the tag, whilst keeping the bird and branch the focal point. You can watch the video tutorial below or over on YouTube.
Thank you so much for stopping by today, I hope you have a wonderful day!

Get $15 OFF Canada Shipping on orders over $99 with code CASHIP at checkout from November 4, 2026 at 12:01 AM EDT until November 6, 2026 at 11:59 PM EDT. Shop here: https://oltonew.shop/collections/all-the-paper-crafting-supplies-you-need
SUPPLY LIST
|