How To Create a Sweet Customized Popsicle | Fun & Easy Die-Cutting
by Michelle Short August 15, 2026

Hello there, Michelle here with another edition of Terrific Tags with Michelle. Today I am having fun with die-cutting - creating a customized Sweet Popsicle!
The Mini Delight: Sweet Popsicle Stamp & Die Set is so fun because you get to customize the popsicles as you want to! For my popsicle today, I am recreating one that is pretty common in the UK. It has a strawberry layer at the bottom, vanilla in the middle, and chocolate at the top covered in sprinkles.

Creating the Popsicle
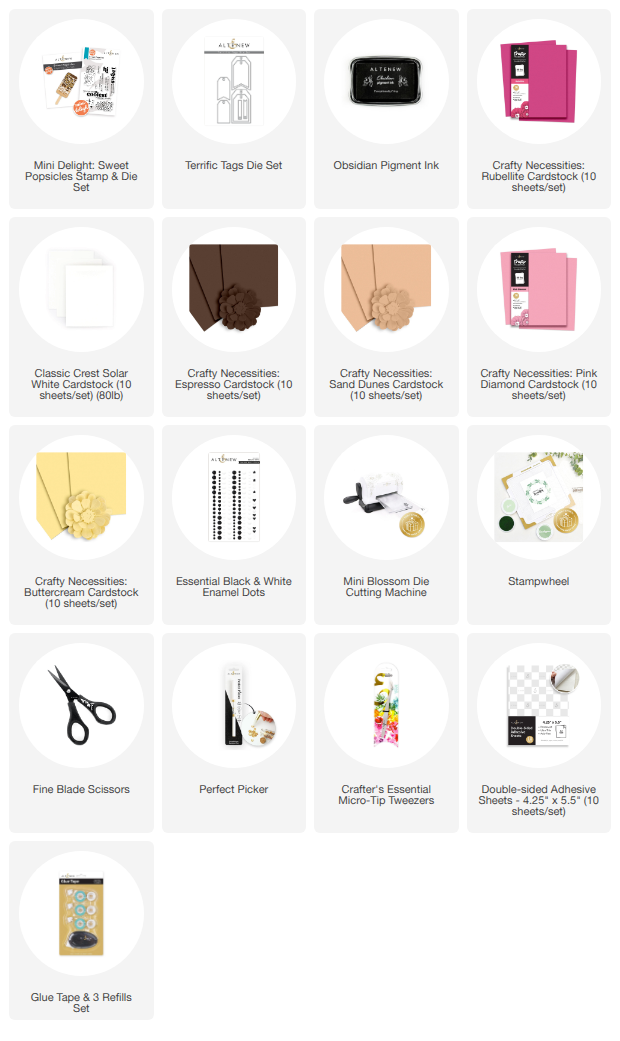
To create my popsicle, I started off by die cutting the main popsicle layer four times from:
- Crafty Necessities: Rubellite Cardstock (for the bottom layer)
- Classic Crest 80lb Solar White Cardstock (for the middle layer)
- Crafty Necessities: Espresso Cardstock (for the top layer)
- Classic Crest 110lb Solar White Cardstock (to act as a base)
I also cut the stick twice from Crafty Necessities: Sand Dunes Cardstock.
For the sprinkles, I added Double-sided Adhesive Sheet onto the back of the cardstock, so that when I adhere them to the popsicle, I don't have to worry about sticking down such tiny pieces.
I cut the sprinkles from:

I then cut the base popsicle pieces using the layering dies to create the different color layers. I started off by cutting the Rubellite piece for the bottom. This one I could simply place the die on top and run it through the Mini Blossom.
For the second layer (the white one), I placed the bottom Rubellite layer on top of it and then used that as a guide for where to cut the white piece. Once cut, I then placed the other layering die towards the top and cut that as well.
I then used that piece as a guide for where to cut the top Espresso piece.
Watch the video below to see how I lined up the dies!
To create the popsicle, I adhered the layers to the base 110lb Classic Crest Layer, so that all the layers of the popsicle were inlayed together.
I then adhered the sticks to the back (one on top of the other).

Creating the Tag
I took a panel of Classic Crest 110lb Solar White Cardstock and placed it inside the Stampwheel. I then stamped the sentiment from the Mini Delight: Sweet Popsicles Stamp Set on top, using Obsidian Pigment Ink.
I placed the largest Terrific Tags Die on top and ran it through my die cutting machine. I found this the easiest way to make sure the sentiment was straight, but you can die cut first and then stamp!
I die cut another of the tags from white cardstock and adhered this to the back of the stamped one, for stability, using Glue Tape.

I adhered the popsicle on top using Instant Dimension Foam Tape.
To finish, I threaded black twine through the top of the tag and tied in a bow, and then embellished with Essential Black & White Enamel Dots (just the black ones), adhered around the popsicle.
Video Tutorial: How to Crreate Customized Sweet Popsicles
I hope I have inspired you to try customizing your own sweet popsicle! There are so many different ways to customize the popsicles - having one main layer or multiple, different shaped sprinkles (with both the stamp set and die set), nuts, chocolate, caramel drizzle - the list goes on!
You can watch the video tutorial below or over on YouTube.

Thank you so much for stopping by today, I hope you have a wonderful day!
SUPPLY LIST