Magical Shaker Card with the Wondrous Ride Die Set
Key Takeaways
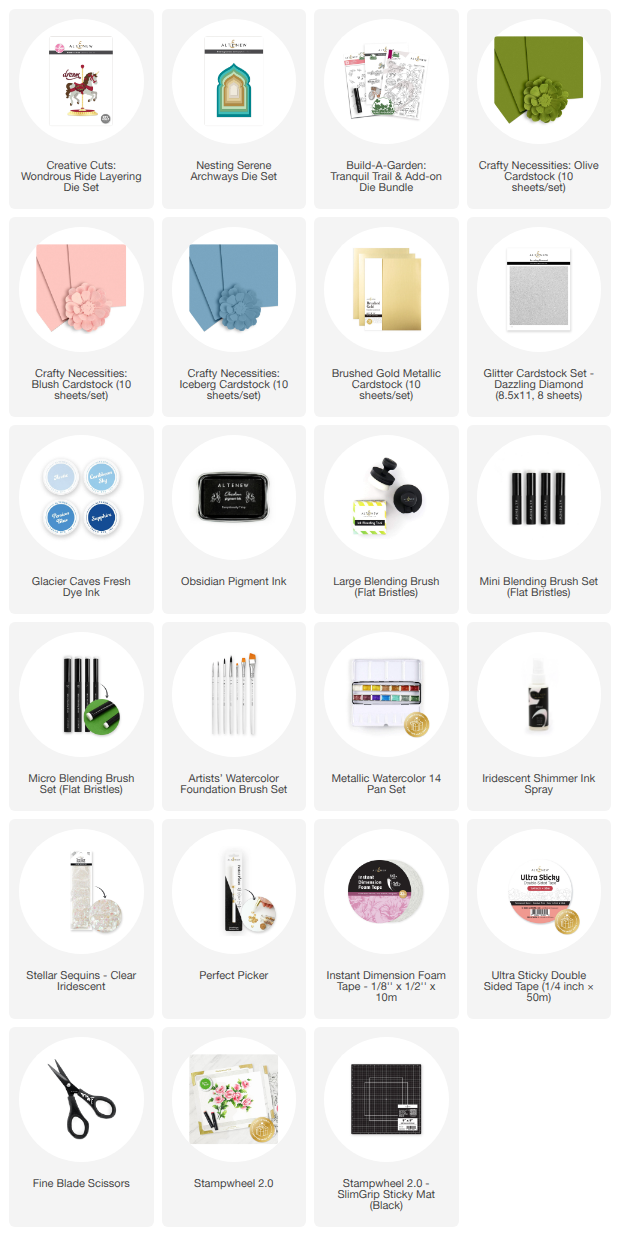
Featured Products: Uses the Altenew Wondrous Ride layering die set (carousel unicorn) as the focal point, framed by the Nesting Serene Archways die set.
Dimension Technique: Combines colored cardstock with ink blending (using Arctic, Persian Blue, and Sapphire inks) to prevent the die cuts from looking flat.
Interactive Element: Creates a secure shaker card window using acetate and thick foam tape to house clear iridescent sequins.
Background Styling: Features a gradient ink-blended night sky enhanced with gold metallic watercolor and iridescent spray splatters for extra magic.
Shaker Card Tip: Mixes two different sizes of sequins inside the shaker well to create more dynamic movement and texture.
Finishing Touches: Includes a stamped sentiment from the Build-A-Garden Tranquil Trail set and hand-drawn white gel pen highlights on the unicorn.
Hello crafty friends! It's Mindy Eggen here for my series, Inking It Up with Mindy. Today, I’m thrilled to share a magical shaker card tutorial featuring the stunning Wondrous Ride Layering Die Set.
This beautiful carousel unicorn features so many lovely, intricate details. When you pair it with a sparkly, interactive shaker background, it creates a truly whimsical finished card that is perfect for birthdays, celebrations, or just spreading a little magic.

Assembling the Focal Point for Your Shaker Card
To kick off this shaker card project, I started by following the handy layering guide included in the package to assemble our star of the show: the carousel unicorn. Choosing the right paper palette is key for a cohesive look. For my cardstock colors, I selected a beautiful mix of:
Even though high-quality cardstock already adds gorgeous color to your paper crafting projects, I love adding a little extra ink blending to my die cuts. It gives the pieces much more dimension and keeps the final design from looking too flat or uniform against the interactive background.

Adding Depth with Ink Blending & Contrast
Using a mini blending brush and Arctic ink from the Glacier Caves collection, I softly shaded some of the main unicorn pieces. For the mane and tail, I wanted a bolder look, so I layered Arctic, Persian Blue, and Sapphire inks to create a striking contrast.
To ensure the entire design felt cohesive across the shaker card, I pulled those exact same ink colors into the saddle and smaller accessory pieces.
Crafty Tip: For that essential touch of magic, the unicorn horn itself was die-cut from Dazzling Diamond glitter cardstock. This adds a beautiful sparkle to the centerpiece without needing extra, bulky embellishments that might get caught in your shaker window. It catches the light beautifully and really enhances the whimsical feel of the card.

Designing the Shaker Card Window & Background
Every great shaker card needs a captivating window. For the interactive portion of the card, I die-cut a window from crisp white cardstock using the Nesting Serene Archways die set. The elegant arch shape is perfect because it beautifully frames the carousel unicorn and naturally draws the eye toward the center of the card. After positioning the unicorn over the opening, I secured a piece of clear acetate behind the window using strong, double-sided tape to create the clear barrier.
For the background peeking through the window, I ink-blended Persian Blue and Sapphire inks onto white cardstock. I kept the darker color concentrated toward the top and faded it lighter toward the bottom to create a soft, glowing twilight effect behind the unicorn. To add even more texture and night-sky sparkle, I splattered the blended background with gold metallic watercolor and an iridescent shimmer spray.

Filling the Shaker Well and Final Touches
Now for the most exciting part of making a shaker card: building the shaker element! I created a secure, dimensional well on the back of the front panel using thick foam tape, making sure there were no gaps where contents could escape. Inside the shaker reservoir, I added clear iridescent sequins in two different sizes.
Mixing sizes is a fantastic shaker card trick—it creates much more movement when the card is shaken and provides extra texture and sparkle.
To complete the card design, I stamped a crisp sentiment from the Build-A-Garden Tranquil Trail stamp set using Obsidian Pigment Ink. As a final detail, I added a few fine lines with a white gel pen to the mane and tail to make the highlights pop.

I absolutely love how this shaker card came together with all of the sparkle, soft ink blending, and interactive movement from the sequins. Layering dies make it incredibly easy to build detailed, professional-looking images while still leaving tons of room to add your own creative, personal touches.
Be sure to watch the video below for the full step-by-step video tutorial, and thanks so much for stopping by today! Happy crafting!

Have you ever made a shaker card before? Let me know in the comments below what sequins or shaker fillings you love to use most!

Save on big and must-have crafting items! Get up to 45% OFF on stamps, dies, stencils, and more from May 18, 2026, 12:01 AM to May 24, 2026, 11:59 PM EDT. Shop here → https://oltonew.shop/collections/weekly-sale

SUPPLIES